I have chosen a simple pattern for demonstration purposes and because simplicity is beautiful.
I went ahead and made a sketch on Photoshop to be able to know how many squares I would be needing.
This quilt will be approximately 36" x 62".
What you will need:
- Refer to my post about sewing supplies for the basics.
- Two different color fabrics. I used Kona Cotton.
- 1 1/2 yards of white
- 1 yard of black
- 2 yards of fabric for backing
- 1/2 yrd for binding.
- A bag of Warm and Natural Batting
Let's get started.
I went to Joann fabric store for the Kona cotton solids, with a coupon you get a good (scratch that, GREAT!) deal. I also picked up a bag of the awesome warm and natural batting. I went to my local quilt shop for the backing and binding fabric. They just have the best prints and color. Beautiful place, beautiful store, check it out here. |
| Fabric shopping |
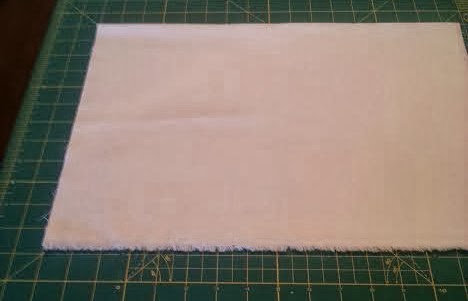
1. I placed the fabric as flat as possible on my cutting mat aligned to the markings on it. Then I cut off the uneven edge. From then on I only used the measurements on my ruler to cut 4" strips using a rotary cutter.
2. Once I had all of the strips I proceeded to cut them in 4" squares, using a square ruler.
3. Once I had cut all of my squares I laid them out to then be sewn in strip, ironing the seams split open.
4. Once I had my strips all sewn I then sewed two strips at a time. Then two double strips and so on until I had the finished top. I then again pressed the seams split open.
5. This is what I mean by ironing the seams split open.
6. Once the quilt top had been sewn it was time to do the basting. I laid down the layers beginning with the backing facing downward. Then the batting, making sure I left 4 inches of extra all around the edges. Finally, I placed down the quilt top. You can then either safety pin it all over or you can use quilt basting spray and spray it as you lay down each layer. I tend to do both. This way I reduce the amount of hole punctures into the beautiful quilt.
7. The fun and exciting part. Quilting! I used a teal color thread to contrast and to bring color to this B&W quilt top.
8. After I was done quilting, time to do the binding. I apologize I got too excited to finish, I forgot to take pictures. I will soon post a tutorial on binding only. So, while you work on making your quilt I'll be working on writing a binding tutorial.
Any-who, I hand stitched the binding to be able to make an invisible stitch and give it a nicer finish look.
HERE IT IS!
I LOVE IT!
This quilt is for sale at my Etsy shop in case anyone is interested in buying it rather then making it themselves.
Feel free to email me with any questions you may have, and please if you make a quilt...share!
In case anyone is wondering, this took me:
- 12 hours of cutting and sewing the quilt top.
- 2 hours of basting.
- 5 hours of quilting.
- 4 hours of cutting, ironing, and hand stitching the binding.
TOTAL = approximately 23 hours.
Happy sewing!


No comments:
Post a Comment